Various Ways to Host React app: S3

This Blog is a continuation of earlier series Various Ways to Host React app in AWS infrastructure.
- Using AWS Amplify
- Using EC2/Lighsail instance
- Using S3 bucket
What is s3 bucket:
Amazon S3 is an object storage service provided by Amazon. It offers scalability, reliability, security and performance to store any blob resources. You can even use S3 to host static sites. In terms of cost, S3 is cheaper than other storage available in AWS, like EBS and EFS. To learn in detail about various storage available in Cloud Refer: Various Storage solutions in Cloud
What is Amazon Cloudfront?
Amazon CloudFront is a content delivery network (CDN) service provided by AWS that speeds up the distribution of your static and dynamic web content, such as .html, .css, .js, and image files, to users worldwide. Cloudfront delivers the content through a network of AWS data centers called edge locations which also works as a cache servers. Instead of requests being directed to unnecessary extra routes through internet, the user’s request is routed internally through AWS infrastructure to the nearest edge server ( cache server) which provides low latency and best available performance.
The fundamental importance of cloudfront is :
- It delivers content from Edge location that is nearest to user and also has a caching mechanism, making it high in performance
- CloudFront supports SSL/TLS, ensuring secure delivery of content over HTTPS.
If you're wondering why we need CloudFront to host React static apps in S3, here's the explanation: S3 is primarily a storage service and does not support SSL/TLS encryption on its own. Therefore, if you don't need SSL (https) enabled, you can serve your content directly from S3 without CloudFront. However, if you require secure data transfer using the https protocol, CloudFront is necessary. It enables SSL encryption for your content hosted in S3, providing the needed security support.
Amazon CloudFront not only supports SSL for static content hosted in S3, but also enhances the availability and response time of your app. It achieves this by delivering content through a global network of cache servers, ensuring faster and more reliable access for users around the world.
Now let’s get started:
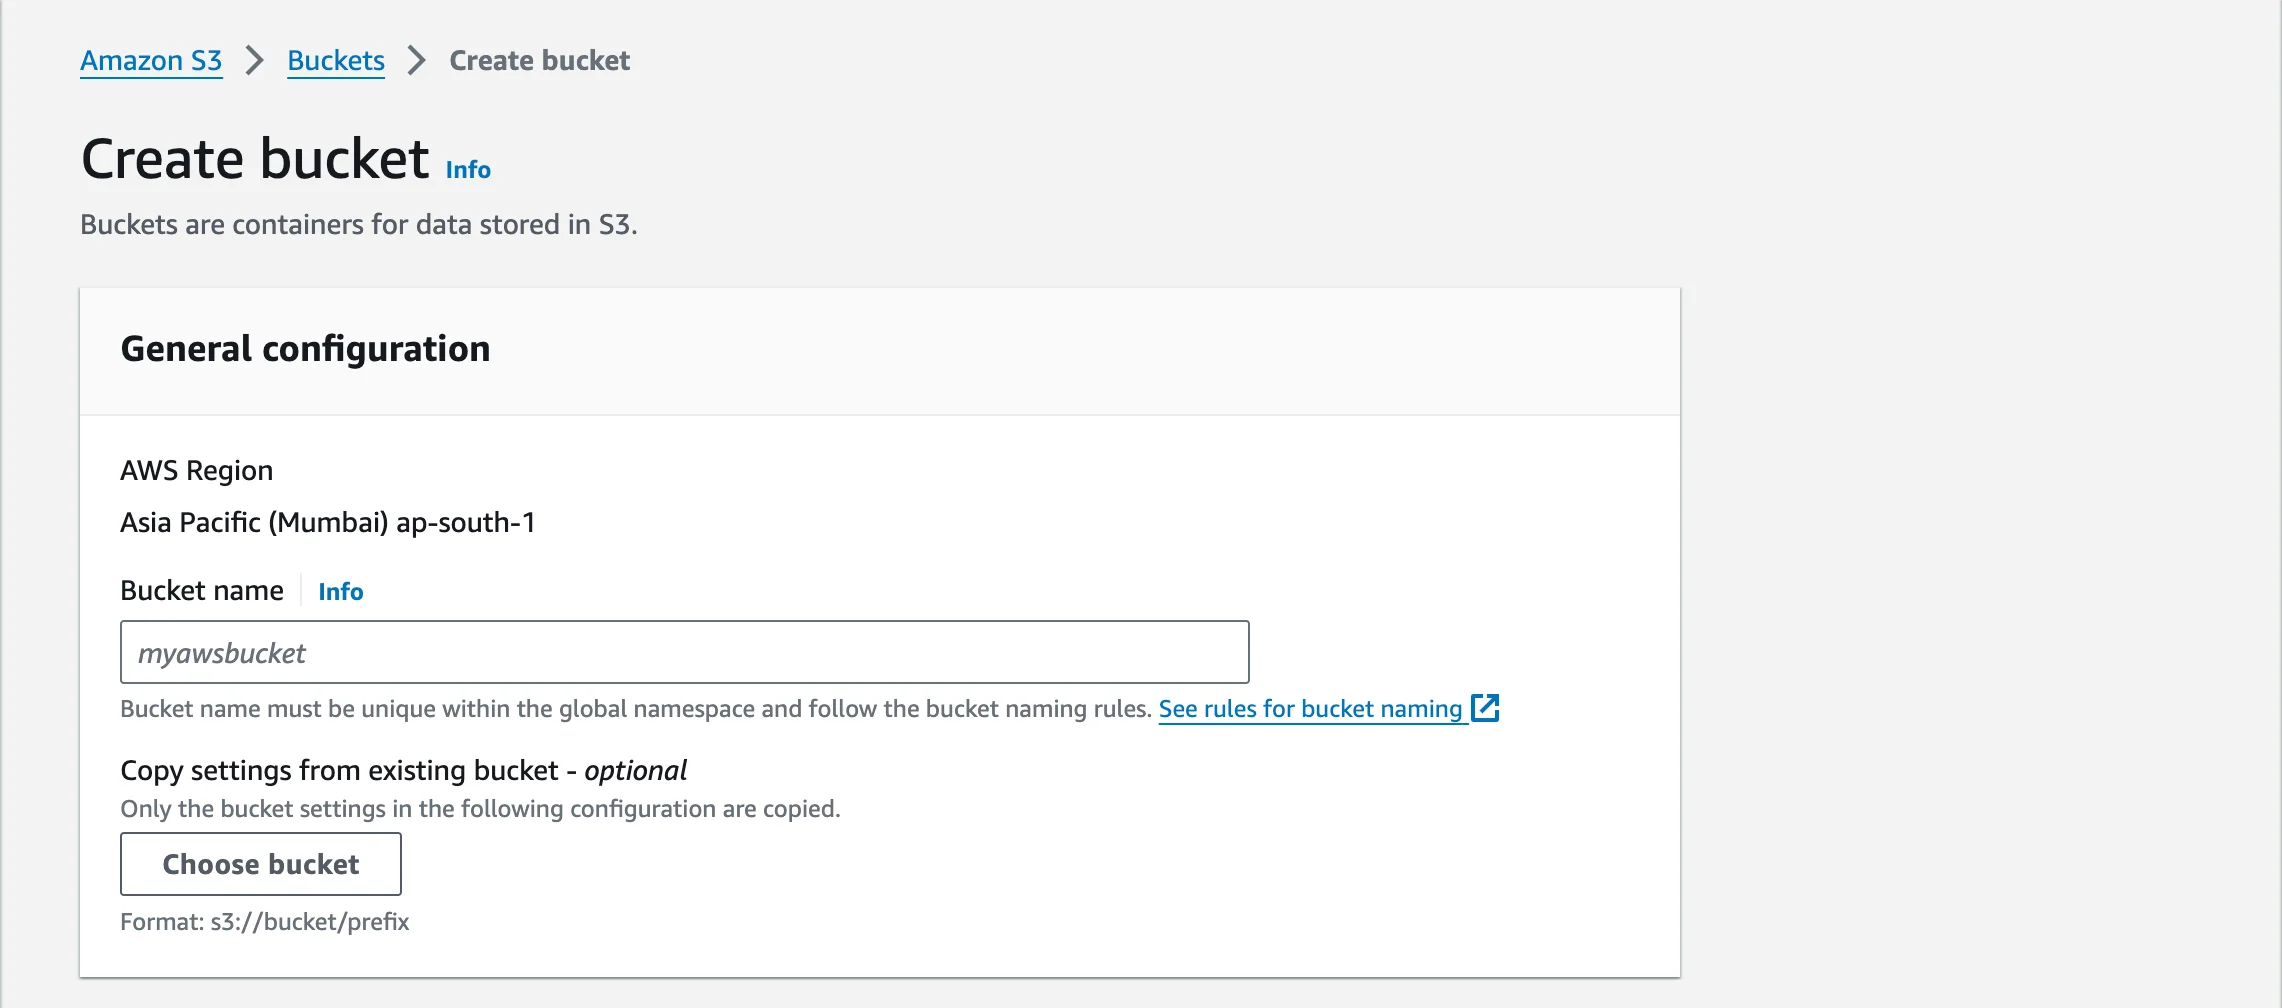
Step 1: Create a S3 bucket
First, create a S3 bucket in aws with the same name as your domain for e.g if your domain name is example.com create a bucket named example.com. But, if you don't wish to add a custom domain then you may choose any name for your app.
This step even applies for a subdomain. For subdomain e.g. frontend.example.com create a bucket with name frontend.example.com and proceed as below:

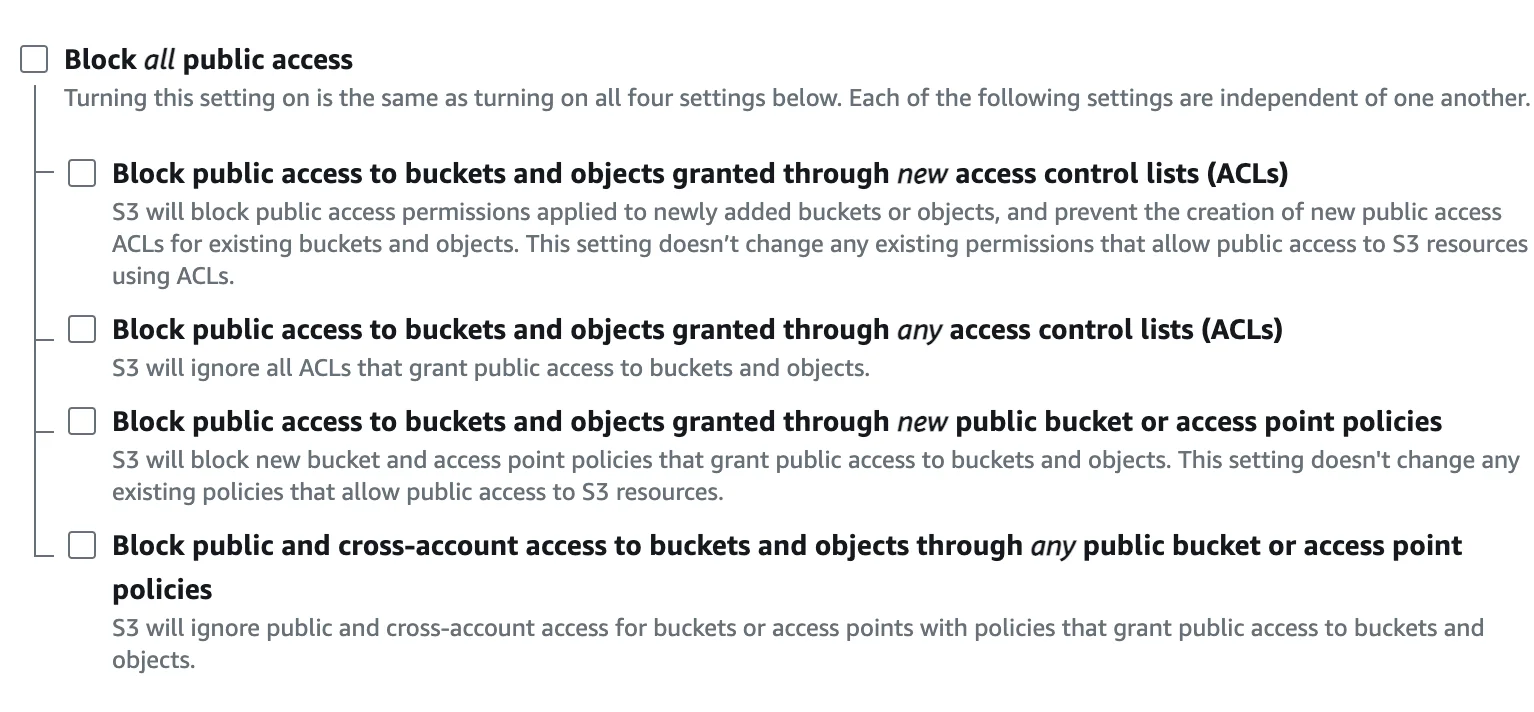
When creating S3 bucket, you have two choices:
-
If SSL certificate installation i.e. (https) is not your requirement : In this case, for checkbox : Block all public access, you may deselect it to allow users to read s3 content.

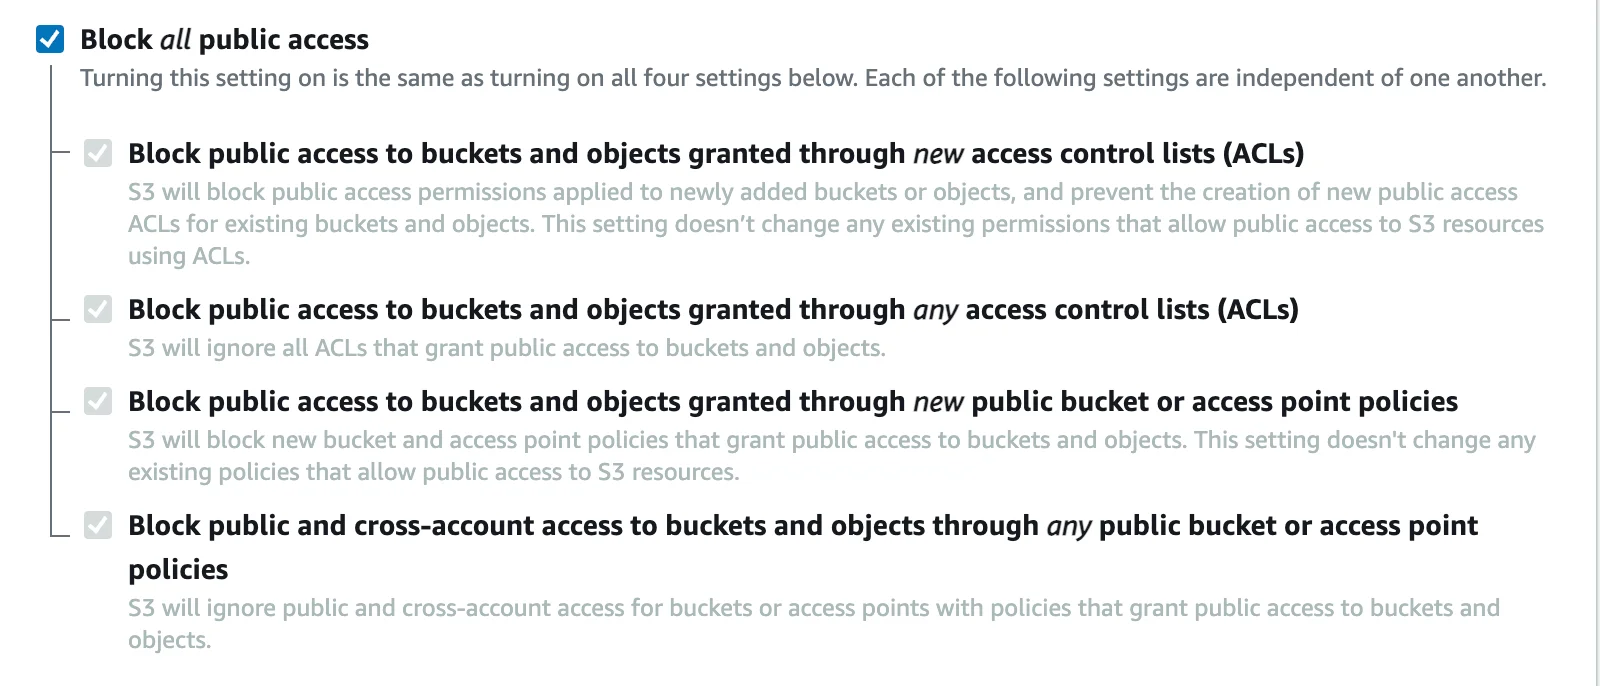
-
If you want SSL (https) protocol to be enabled : In this case, you will need a cloud front distribution so you check this option: Block all public access. So that you don't have to make it available directly from S3 but from cloudfront.

Rest other configuration options can be left as default, Likewise you may add Tags and versioning within the app if required and so on.
Step 2: Build react app and upload the the bucket
Once the bucket with the name same as your domain name is created, you might want to finalize the build of your react app.
For this , you can run command :
npm run build
This command will create a build folder inside of your project root directory with a static site content.
Now, upload the content of the build folder to the same bucket created above, which will contain basically assets, js and html file of your react project. You may directly drag drop or open the bucket and upload all files.
Step 3: Enable Static Website hosting (optional when using cloud front)
This step is optional if you use cloud front distribution to host your domain. But it is necessary you point your domain directly to s3 bucket instead of cloudfront.
Now you need to enable the static website hosting option in the bucket. For this you can go to aws s3 bucket list inside your account, where you can see list of all buckets in your account as shown in the image below:

Now click on the s3 bucket name that was created earlier i.e. as shown in image above. This will redirect you to page for Bucket detail like the one shown in image below:

Now check the tabs in above image and click on the Properties tab as shown in image above:
You can ignore other properties ,and scroll directly to the bottom of settings, where you see the property static website hosting is disabled as shown in image below, click the edit button.

When edit is clicked, You will be redirected to update various configurations as shown in image below like :
- Enable the static website hosting option, it will open more fields to be updated
- You can update the Index document field to value : index.html
- And for Error Document you may add a 404.html if that is uploaded to s3 bucket or else you may leave it index.html .
- You can also add any redirection rule if you need, or else leave it as it is:
- After updating these settings save the form.

Now if you again check the properties tab that showed disabled static websites, you can see the public url of the s3 bucket. As shown below:

Making the url Public (Available on internet)
When you access the s3 URL given in the screen shown above, you might get a 403 access denied message. It is because the permission is limited. As we are allowing this bucket to be accessed from the internet (as a website) so, we need to update the permission. Update the permission from S3 detail page in permission tab.
Step 4: Update Bucket policy
Navigate to the bucket details page and select the Permissions tab to edit the Bucket policy. Update the following code to grant full public access, as illustrated in the picture below. Note that the bucket policy differs depending on whether you are using CloudFront or not. Image shows screen to place the bucket policy

The bucket policy can be updated to (When using S3 directly i.e. without https or cloudfront):
{
    "Version": "2012-10-17",
    "Statement": [
        {
            "Sid": "PublicReadGetObject",
            "Effect": "Allow",
            "Principal": "*",
            "Action": "s3:GetObject",
            "Resource": "arn:aws:s3:::example.com/*"
        }
    ]
  }
The bucket policy can be updated to (When using cloudfront or https):
{
    "Version": "2008-10-17",
    "Id": "PolicyForCloudFrontPrivateContent",
    "Statement": [
        {
            "Sid": "AllowCloudFrontServicePrincipal",
            "Effect": "Allow",
            "Principal": {
                "Service": "cloudfront.amazonaws.com"
            },
            "Action": "s3:GetObject",
            "Resource": "arn:aws:s3:::example.com/*",
            "Condition": {
                "StringEquals": {
                    "AWS:SourceArn": "Your-cloud-distribution-ARN"
                }
            }
        }
    ]
}
Note: *Remember to replace example.com with your bucket name or domain name. If you are using CloudFront, change Your-cloud-distribution-ARN in the code above to the ARN of your CloudFront distribution.
if you navigate to the bucket URL, you should be able access the website from s3 generated url.
Step 5 :Working with custom domain
Case 1: If you don’t even need custom domain
If you don’t require a custom domain, you can stop here, the app can be accessed from the url as discussed in step 3 or you can get url from properties tab
Case 2: If you want custom domain but SSL(https) certificate is not required:
If you don't need an SSL certificate to be installed to your domain, then you can attach your domain directly to s3. You can skip case 3 and move directly to Adding a custom domain topic below
Case 3: Using AWS CloudFront Distribution
If you need to point S3 to a custom domain and also require an SSL certificate(https), you must first configure a CloudFront distribution to enable SSL.
> CloudFront service in your AWS console ,then click on Create Distribution button :
You will be redirected to create cloudfront distribution page, its has a lot of options, but we will see few important only:
Fill up these fields as discussed below:
- Select the origin domain as the end point of s3 bucket (will be shown in dropdown) , the Name of this origin will be automatically filled
- Origin Path: Leave this empty.
- Viewer Protocol Policy: Redirect HTTP to HTTPS (or adjust based on your needs)
- Allowed HTTP Methods: GET,HEAD
- Update Compress objects automatically : Yes
- Add other information as per your need as shown in the image below or leave all as default
- Alternate domain name (CNAME) - optional can be added like www.example.com or anything that you want to indicate as same domain
- Also you can add a ssl certificate from Custom SSL certificate or request a new certificate ,where cloud front will generate it for you. If you click on option Request Certificate and refresh and select the certificate to make it SSL installed.
As shown in the image below:

And finally click on create distribution as shown in the image above. Once distribution is created you can see the list of distributions you have created as shown in image below:

Now you have completed the creation of cloudfront distribution, now the final step is to point the domain to this cloudfront.
To forward all the requests from domain to this cloudfront distribution, you need to copy the Domain name of cloud front, as you can see in the above table under column Domain name in image above. I have two domains hosted with cloudfront so there’s two numbers in the list but, in your case there might be one, so copy the cloudfront url which will be required in the next step.
Step 6: Adding a custom Domain
Step a:
To add a custom domain, You can go to route 53 > hosted zone > create hosted zone in your AWS console.
This will open up a form to create new hosted zone for your domain , as shown in image below:
The domain name field is the domain name you already have bought from any domain provider. You can add your domain name. The description is just for you to know, set type to public if you want it over the internet.

You can create a hosted zone for your domain.
Once, hosted zone creation is successful, you can see two records NS and SOA automatically created for you, if you go inside the hosted zone just created , as shown in the figure below:

Step b:
Now, Open your domain provider (from which you bought or registered the domain), you can update your Name server, the name server is the Value/Route traffic to the column in the the image of showing table with Type NS.
Until now you have pointed your domain to AWS server, but yet you have not explained the hosting zone that you want your request to direct to S3 or cloud front
Note : After you update the NS (Name server) in your domain hosting provider account, the domain requires almost 24 to 48 hours for propagation across all the servers throughout the internet.
Step c:
Create a A record to point to respective end points(s3 or cloud distribution)
Now click on the create record option as in the hosted zone detail page shown above: This wil redirect you to a page with screen as below:

In form for adding a record fill up the form as below:
- Leave the subdomain value empty
- Select A-type record
- Set the value to : Either s3 endpoint (if using s3 directly) or cloud front domain (url) (if using cloud front distribution)
- Leave Routing policy to Simple Routing
Then save.
The S3 endpoint or Cloud front domain is already discussed above;
With creating A - record your request coming to this Name server or domain updated, will be forwarded to the S3 endpoint or the cloud front distribution.
This concludes hosting your react app to S3!!
Other Blogs from this series


